Simple Christmas Nails: 40+ Easy Holiday Designs to Try Now
Struggling to create festive holiday nail art that doesn’t look like a Pinterest fail? You’re not alone. Many women feel intimidated by elaborate Christmas nail designs, thinking they need professional skills to achieve that perfect festive manicure. The pressure to have Instagram-worthy nails during the holiday season can leave you avoiding Christmas nail art altogether.
But here’s the truth: simple Christmas nails don’t require artistic talent or hours of detailed work. With just basic nail polish and simple techniques, you can create stunning holiday nail designs that capture the festive spirit without the frustration. Whether you’re heading to office parties or family gatherings, these easy Christmas nail ideas will have you looking polished and put-together in minutes, not hours.
What Makes Christmas Nails “Simple” Yet Stunning
Simple Christmas nails focus on clean lines, classic colors, and minimal embellishments that create maximum impact. Unlike complex nail art requiring specialized tools, these designs use everyday items you already own. The beauty lies in their effortless elegance they’re sophisticated enough for professional settings yet festive enough for holiday celebrations.
This year’s trends focus on understated elegance, minimalist details, and chic seasonal accents that look just as good at the office as they do at a Christmas party. The key is choosing designs that complement your lifestyle while embracing the holiday spirit through thoughtful color choices and subtle festive elements.
Essential Colors for Simple Christmas Nails
Classic Christmas Color Palette
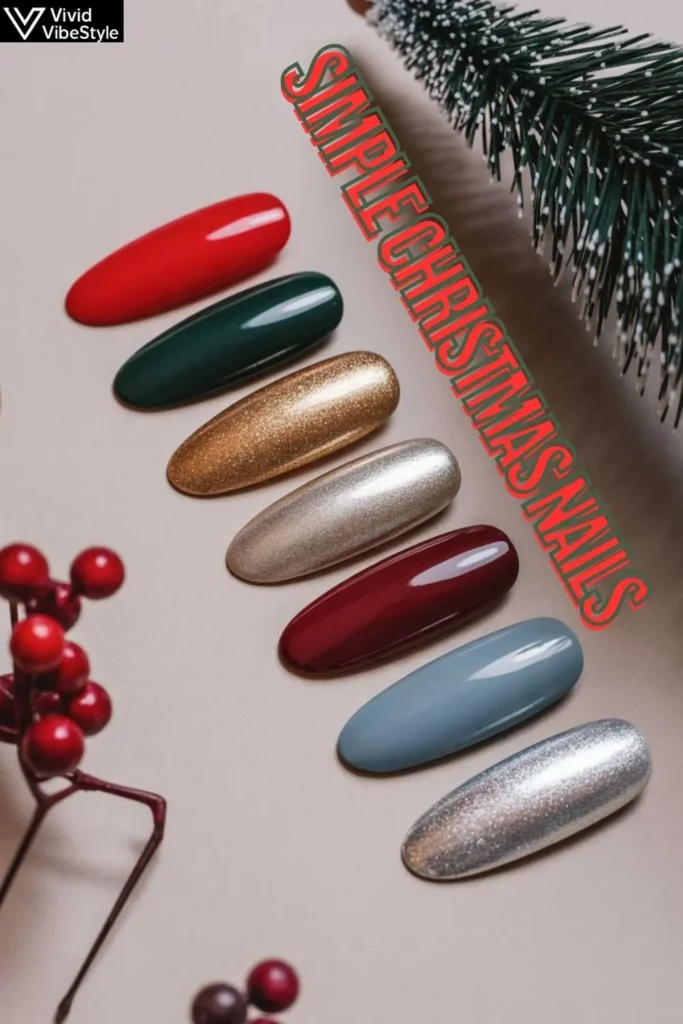
The foundation of any great Christmas manicure starts with the right colors. Trending Christmas nail colors include classic red and green, as well as metallic shades like gold and silver, and neutral colors with a touch of sparkle. These timeless hues instantly evoke holiday cheer without requiring complex designs.
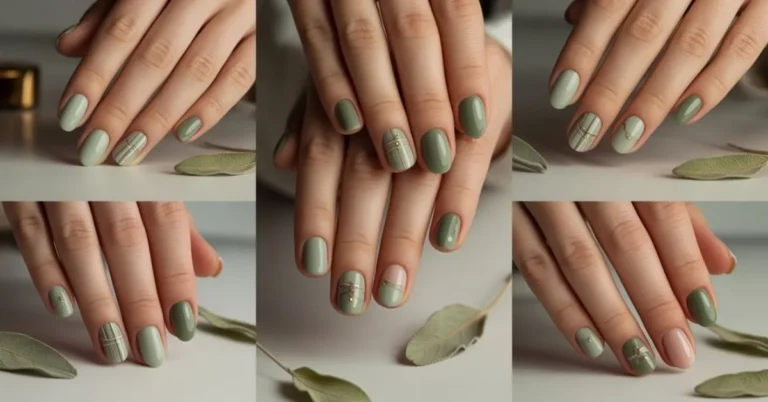
Red remains the ultimate Christmas nail color, offering versatility from deep burgundy to bright cherry. Green alternatives range from forest deep to sage subtle, while metallics add instant glamour. Don’t overlook neutral bases nude, cream, and soft pink provide perfect canvases for simple Christmas nail art accents.
2025 Holiday Nail Color Trends
According to nail salon Bellacures, look for classic designs with a twist, snowflakes on a nude base, icy blues, deep greens, and berry reds. This year’s palette expands beyond traditional red and green, embracing cooler tones that feel fresh and modern.
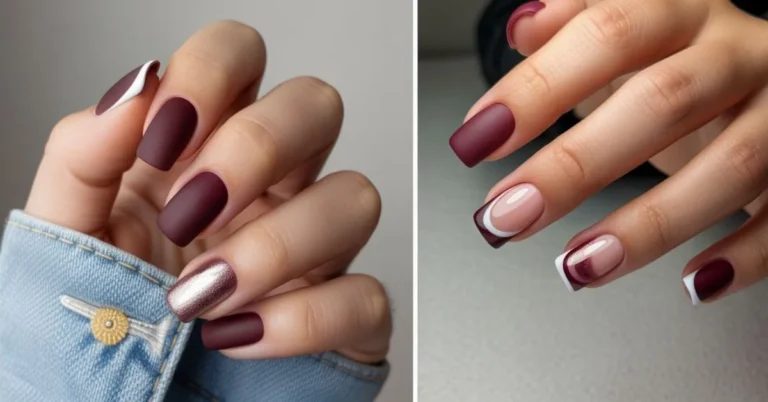
Berry shades offer sophisticated alternatives to bright red, while icy blues create winter wonderland vibes. Deep forest greens provide richness without overwhelming brightness, and nude bases with subtle accents maintain professional appropriateness while celebrating the season.
Read More About : Fall Work Outfits for Women: The Complete Guide to Chic & Professional Autumn Style
How to Choose the Right Simple Christmas Nail Design
Consider Your Lifestyle and Schedule
Your holiday nail design should match your daily routine. Office workers might prefer subtle festive nail colors with minimal embellishments, while those with more flexible dress codes can embrace bolder Christmas nail ideas. Consider how long you want your manicure to last simpler designs typically maintain their appearance longer than complex nail art.
Think about your manual activities too. If you’re wrapping gifts, cooking, or handling holiday preparations, choose simple Christmas nails that won’t chip easily or interfere with tasks. Shorter lengths with classic colors often prove most practical during busy holiday seasons.
Match Designs to Your Skill Level
Honest self-assessment prevents frustration and ensures success. Beginner nail art should focus on solid colors, simple gradients, or single accent elements. If you can paint within the lines consistently, you’re ready for basic Christmas nail art tutorials involving dots, stripes, or simple shapes.
Advanced beginners might tackle small Christmas nail designs like tiny trees or snowflakes using toothpicks or dotting tools. Remember, mastering simple techniques creates better results than attempting complex designs beyond your current abilities.
15 Easy Simple Christmas Nail Designs Anyone Can Do
Classic Red with Gold Accent Nail
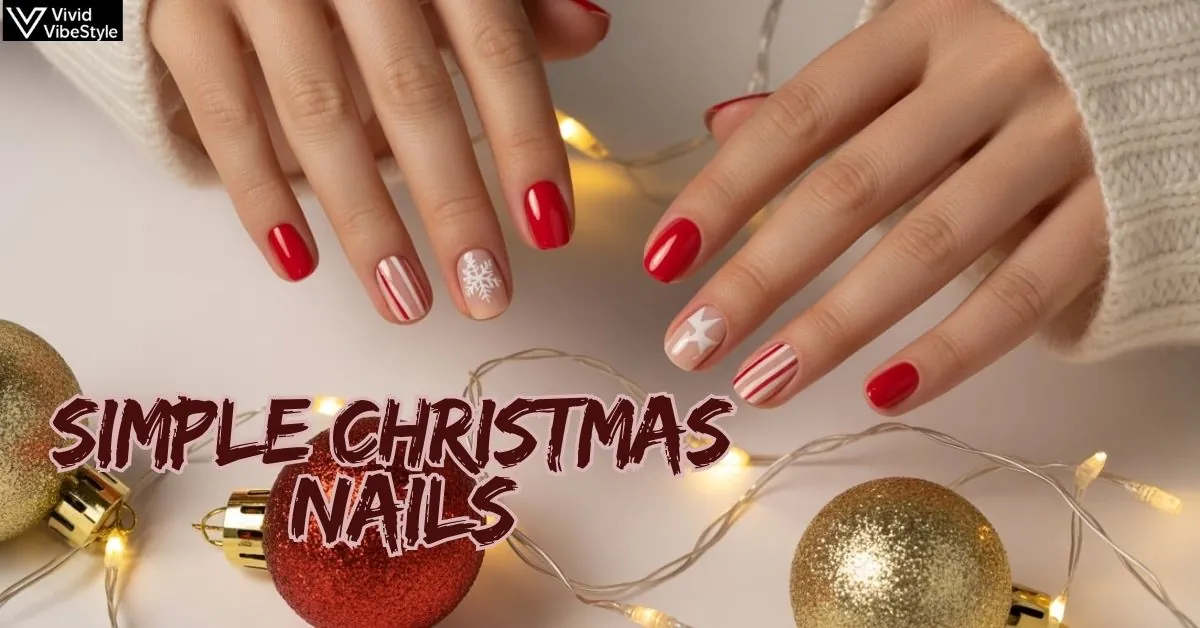
Start with two coats of rich red polish on four nails, then paint your ring finger with gold polish. This timeless combination requires no special tools just steady hands and patience between coats. The contrast creates visual interest while maintaining elegant simplicity perfect for any holiday manicure.
Add subtle gold glitter to just the tips of red nails for extra sparkle without overwhelming the design. This simple Christmas nail look works beautifully for both short and long nail lengths, making it universally flattering.
French Tips with Holiday Twist
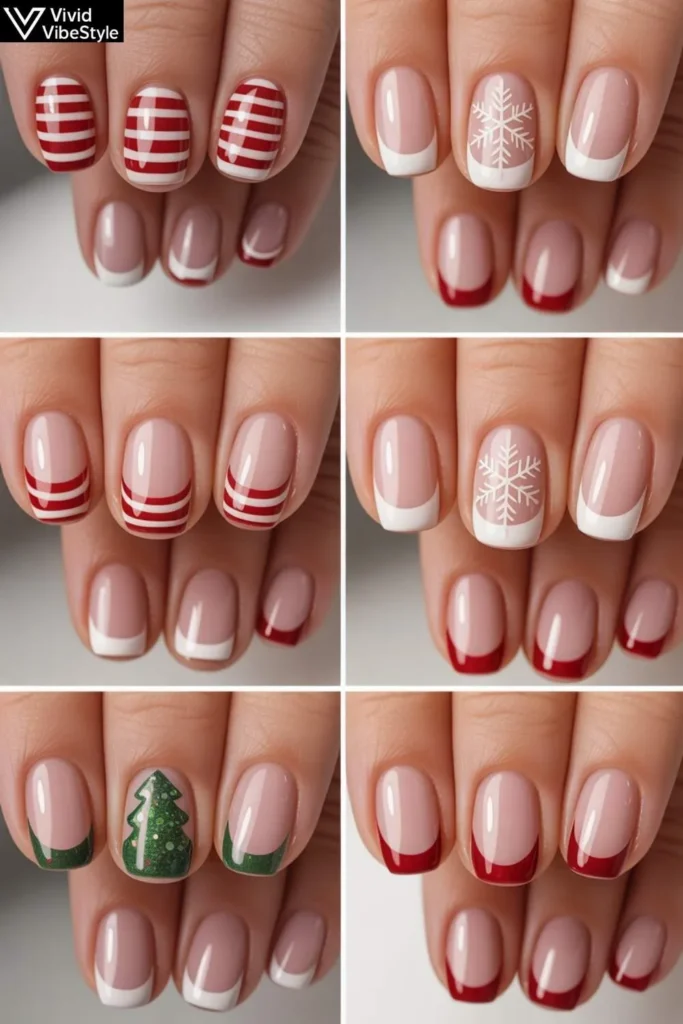
Transform classic French manicures by replacing white tips with Christmas colors. Paint tips in deep green, rich red, or shimmering gold for instant festive nail art. This subtle approach maintains professional appropriateness while adding seasonal flair.
For extra elegance, use metallic polishes for tips or add thin glitter lines at the base of colored tips. The familiar French shape feels comfortable while the color swap creates perfect holiday nail designs for conservative environments.
Nude Base with Single Snowflake
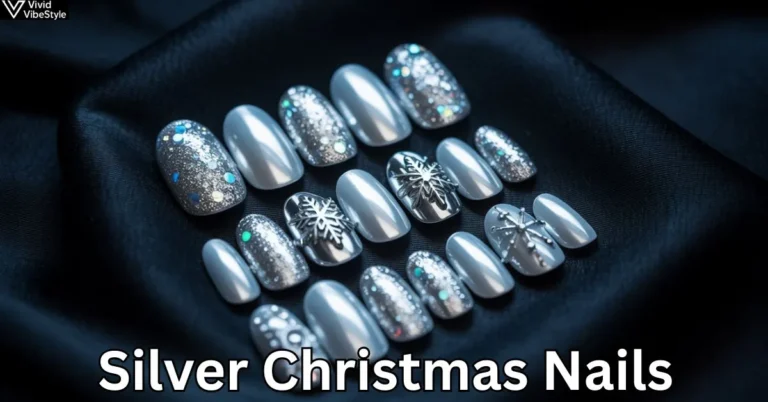
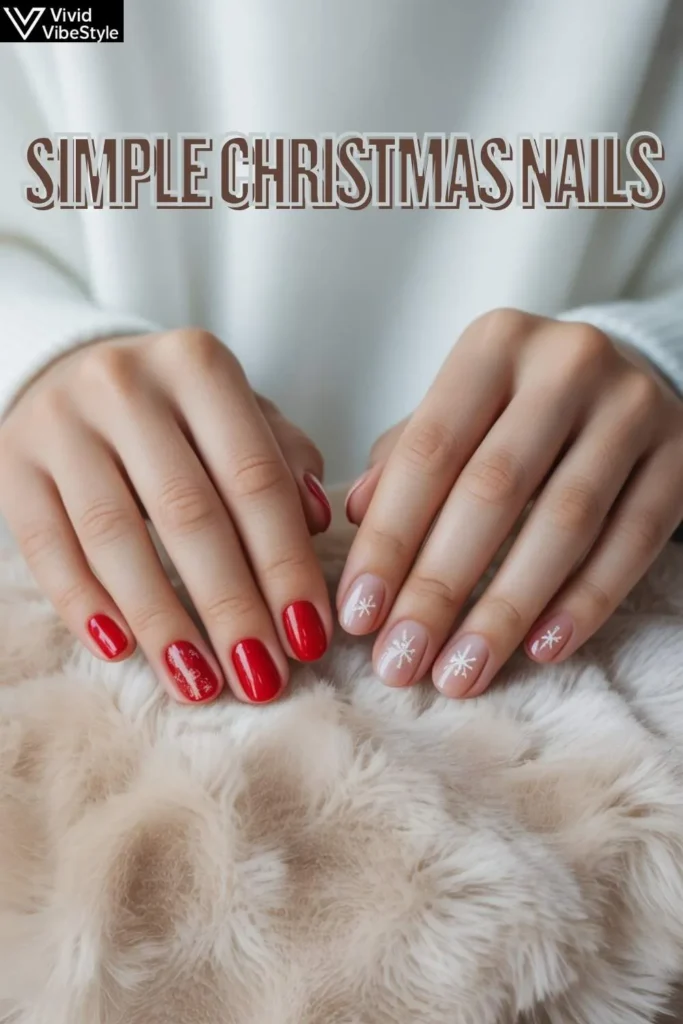
For a simple and festive look, use a base color like red or green, and add small accents like snowflakes, polka dots, or a gold stripe. Paint nails with neutral nude polish, then use white polish and a toothpick to create one delicate snowflake on each ring finger.
This minimalist Christmas nail approach feels sophisticated and winter-appropriate without screaming “holiday party.” The single accent creates focal points while maintaining overall subtlety perfect for professional settings.
Candy Cane Striped Accent
Paint four nails solid red, then create candy cane stripes on accent nails using white polish and striping tape. Remove tape while polish is slightly wet for clean lines. This simple Christmas nail art evokes classic holiday treats without requiring freehand painting skills.
Alternatively, use nail striping brushes for thinner lines or create diagonal candy cane patterns for modern twists on traditional themes. The playful design adds whimsy while remaining easily achievable.
Read More : Neutral Fall Nails: The Ultimate Guide to Effortless Autumn Elegance
Glittery Christmas Tree
I love Christmas trees designs because they are super easy to make. You just need tape and then you will have the form you want. Use triangular tape pieces to mask off tree shapes on nude or green base colors, then fill with glittery polish. Remove tape immediately for sharp edges.
Add tiny gold dots as ornaments using toothpicks, or keep trees simple with just glitter texture. This DIY Christmas nail art creates recognizable holiday symbols without requiring artistic drawing abilities.
Holly and Berries Design
Paint nails deep green, then use red polish dots for berries and white for simple holly leaves. First, paint your nails with a light color, such as pale pink or white. Next, use a toothpick with black polish to draw a curvy line on each nail. Fill in each bulb using red and green polish and any other colors you want to see in there. This technique works perfectly for creating organic holly shapes.
Keep designs small and positioned near cuticles or tips to maintain sophistication. The natural elements feel seasonally appropriate without being overtly Christmas-themed, making them suitable for extended wear beyond December.
Metallic Gradient Nails
Create simple ombré Christmas nails by blending gold or silver polish from tips toward bases. Use makeup sponges to dab metallic polish over base colors, building gradually for smooth transitions. This technique requires patience but produces professional-looking results.
Start with lighter base colors to make metallics pop more dramatically. The gradient effect catches light beautifully and feels luxurious without requiring precise artistic skills or special tools.
Christmas Light String Design
Start with a neutral base coat, then draw in black “cords” (we love how these have wavy loops). Apply teardrop-shaped or round nail gems in a variety of colors as “light bulbs.” This playful design captures holiday magic through simple elements most people can manage.
Use nail gems or small dots of bright polish for bulbs, connecting them with thin black lines using nail art brushes or toothpicks. The whimsical design works especially well on longer nails where you have more canvas space.
Minimalist Star Accents
Paint nails in deep blue or black polish, then add single gold or silver stars using star-shaped nail stickers or stencils. This simple holiday nail design evokes winter nights and feels appropriately festive without obvious Christmas symbols.
Position stars asymmetrically for modern appeal, or create constellation patterns for added interest. The dark backgrounds make metallic accents pop while maintaining sophisticated elegance suitable for any occasion.
Plaid Pattern Using Tape
Create simple plaid patterns using striping tape and traditional Christmas nail colors. Start with solid base colors, add perpendicular tape strips, then paint over with contrasting colors. Remove tape while wet for clean intersections.
This beginner-friendly nail art produces complex-looking results through simple layering techniques. Choose colors with enough contrast to make pattern visible, and work on one nail at a time to prevent polish from drying before tape removal.
Single Rhinestone Elegance
Paint nails solid colors, then add one quality rhinestone to each ring finger near the cuticle area. This minimal approach to festive nail art creates subtle sparkle without overwhelming busy schedules or conservative dress codes.
Use nail glue for secure rhinestone application, and choose sizes proportionate to nail length. Clear or colored stones work equally well, with colored options matching or complementing base polish choices.
Two-Tone Color Block Design
Paint half of each nail one Christmas color and half another, creating clean geometric divisions. Use tape for straight lines, or embrace slightly imperfect hand-painted divisions for organic charm. This simple Christmas nail technique requires minimal skill but produces bold results.
Try vertical, horizontal, or diagonal divisions for different effects. Color combinations like red/gold, green/silver, or navy/white create sophisticated palettes that feel festive without being childish.
Read More About : Dreamy Seashell Nail Ideas: 30+ Stunning Ocean-Inspired Designs That Capture Summer Magic
Subtle Glitter Fade
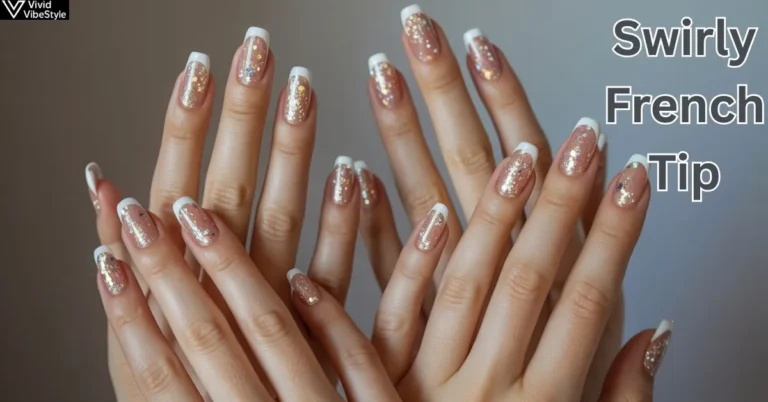
Apply glitter polish only to nail tips, fading coverage toward centers for soft transitions. This easy Christmas nail technique adds sparkle without full-coverage commitment. Layer multiple glitter coats for intensity, or keep light for subtle shimmer.
Choose glitter colors that complement base polish gold over red, silver over green, or multicolor over nude bases. The gradient effect feels more sophisticated than solid glitter coverage while being much easier to achieve.
Simple Dot Patterns
Use dotting tools or toothpicks to create organized dot patterns in Christmas colors. Arrange dots in lines, clusters, or random patterns depending on your preference and skill level. This basic nail art technique requires minimal tools but produces satisfying results.
Vary dot sizes using different tools larger dots with pencil erasers, medium with orange wood sticks, tiny with toothpick tips. The repetitive pattern feels meditative to create and produces consistently attractive results.
Matte Finish Holiday Colors
Apply traditional Christmas nail polish colors, then seal with matte top coat for sophisticated twists on classic shades. The matte finish transforms familiar colors into contemporary statements that feel fresh and modern.
Matte red becomes dramatically elegant, while matte green feels rich and luxurious. This simple technique requires no artistic skill but produces unique results that stand out from typical glossy finishes.
Step-by-Step Tutorial: Perfect Simple Christmas Nails
Preparation Steps for Long-Lasting Results
Start with clean, dry nails shaped to your preferred length and style. Push back cuticles gently and remove any hangnails that might catch polish. Apply thin base coat layers, allowing complete drying between applications this prevents chipping and extends manicure longevity.
Remove any oils from nail plates using rubbing alcohol or nail dehydrator. This crucial step ensures proper polish adhesion, preventing premature peeling or chipping that could ruin your simple Christmas nail art within days of application.
Application Techniques for Even Coverage
Apply Christmas nail polish in thin, even coats rather than thick single applications. Start with brush strokes down the center of nails, then fill sides with overlapping strokes. This technique prevents streaking and ensures smooth, professional-looking coverage.
Wait 5-10 minutes between coats for proper curing. Rushed applications lead to dented, smudged finishes that look unprofessional. Two thin coats typically provide better coverage and longevity than one thick application.
Adding Simple Christmas Nail Art Elements
Once base colors dry completely, add festive nail art elements using appropriate tools. Work on one nail at a time, completing each design before moving forward. This prevents accidentally damaging finished work while creating subsequent designs.
Use nail art brushes for precise lines, dotting tools for circles and patterns, or household items like toothpicks for basic designs. Clean tools between colors to prevent muddy mixing, and work quickly but carefully for best results.
Finishing with Professional Top Coat
Seal all Christmas nail designs with quality top coat, ensuring coverage extends slightly onto skin around nail edges. This creates lasting barriers against chips and helps designs maintain their appearance longer. Allow complete drying before resuming normal activities.
Apply thin top coat layers, avoiding thick applications that create bubbles or streaking. Reapply top coats every few days to maintain shine and extend manicure life throughout the busy holiday season.
Read More About : Tortoise Shell Nails: 2025 Ultimate Guide to Mastering Timeless Luxury Trend
Tools and Supplies You Need for Simple Christmas Nails
Essential Nail Polish Colors
Build your holiday nail art collection with versatile shades that mix and match beautifully. Deep red, forest green, gold metallic, silver, nude, and classic white form the foundation for countless simple Christmas nail combinations. These colors work independently or together for various design approaches.
Invest in quality polish brands that provide smooth application and lasting wear. Cheaper polishes often require multiple coats for even coverage and chip more quickly, making them less economical despite lower upfront costs.
Basic Tools for Nail Art Success
You don’t need expensive professional tools for beautiful Christmas nail art. Dotting tools, striping brushes, and toothpicks handle most simple designs effectively. Nail scissors, files, and cuticle pushers maintain healthy nail foundations that showcase polish beautifully.
I recently learned that there was a step I kept missing in order for it to work well. You have to put a top coat on and let it dry, BEFORE you put on the sticker! This tip applies to many DIY Christmas nail techniques proper preparation prevents disappointing results.
Helpful Accessories and Embellishments
Nail stickers, gems, and striping tape expand design possibilities without requiring advanced skills. Choose embellishments proportionate to nail size and personal style preferences. Simple additions like single rhinestones or metallic strips create elegant festive nail art without overwhelming natural nail beauty.
Quality base and top coats prove more important than extensive embellishment collections. These foundational products determine how long your simple Christmas nails maintain their appearance and professional quality.
Common Mistakes to Avoid When Creating Simple Christmas Nails
Rushing the Drying Process
The most frequent Christmas nail art failure stems from impatience between application steps. Polish needs adequate drying time to cure properly rushing leads to dents, smudges, and premature chipping that ruins otherwise beautiful designs. Plan manicure timing around your schedule rather than forcing rushed applications.
Use quick-dry top coats or nail drying sprays to speed curing if necessary, but don’t skip drying time entirely. Well-cured polish provides the foundation for lasting holiday nail designs that survive busy December activities.
Overcomplicating Simple Designs
Simple Christmas nails succeed through restraint rather than excess. Adding too many elements, colors, or embellishments creates chaotic appearances that lose elegant impact. Choose one focal point per nail, or distribute elements thoughtfully across hands for balanced compositions.
Remember that “simple” doesn’t mean boring it means purposeful. Each design element should contribute to overall aesthetic rather than competing for attention with other components.
Neglecting Proper Base Preparation
Skipping base coats or inadequate nail preparation leads to shortened manicure life and unprofessional appearances. Healthy cuticles, properly shaped nails, and clean application surfaces form foundations for successful DIY Christmas nail art that looks salon-quality.
Take time for thorough preparation it determines whether your festive nail art lasts through holiday events or chips embarrassingly within days of application.
Using Wrong Brush Techniques
Thick polish applications, incorrect brush angles, or improper stroke patterns create streaky, uneven coverage that looks amateurish. Practice basic application techniques on practice nails or your non-dominant hand before attempting Christmas nail designs on your dominant hand.
Learn proper brush loading too much polish creates drips and streaks, while too little requires excessive coats for coverage. Finding the right balance produces smooth, professional-looking results.
Read More : Brown and Blue Nails: Your Ultimate Guide to 2025’s Most Sophisticated Color Combination
How Long Do Simple Christmas Nails Last?
Factors Affecting Manicure Longevity
Simple Christmas nail durability depends on multiple variables including polish quality, application technique, nail health, and daily activities. Well-applied designs using quality products typically last 7-14 days with proper care, while budget polishes or rushed applications may chip within 2-3 days.
Your natural nail condition significantly impacts longevity healthy, well-moisturized nails hold polish longer than damaged or dry ones. Regular cuticle care and nail conditioning extend manicure life while improving overall nail appearance.
Tips for Extending Wear Time
Protect Christmas nail art by wearing gloves during cleaning, cooking, or manual tasks. Apply thin top coat layers every 2-3 days to refresh shine and seal any minor chips before they expand. Keep cuticle oil handy for daily nail and skin conditioning.
Avoid using nails as tools opening packages, scratching, or picking damages polish and underlying nails. These habits quickly destroy otherwise beautiful holiday nail designs and can cause permanent nail damage.
When to Remove and Refresh
Remove Christmas nail polish when chips become noticeable or growth makes designs look dated. Generally, this occurs after 10-14 days for most people, though individual variation exists. Don’t leave chipped polish indefinitely it looks unprofessional and can hide nail problems.
Use acetone-free removers when possible to minimize nail damage, and follow removal with moisturizing treatments. Healthy nails provide better foundations for future festive manicures than damaged ones requiring recovery time.
Troubleshooting Simple Christmas Nail Art Problems
Fixing Smudged or Dented Polish
If polish gets damaged while still wet, don’t attempt repairs immediately let it dry completely first. Once cured, lightly buff damaged areas smooth, then apply thin polish layers to rebuild coverage. Seal with top coat for seamless blending.
For minor dents, try placing drops of polish thinner over damage and allowing gravity to level surfaces naturally. This technique works better for small imperfections than attempting to paint over raised areas.
Correcting Uneven Application
Streaky or patchy coverage usually stems from incorrect brush techniques or poor polish consistency. Thin thick polish with appropriate thinners rather than adding more coats, which creates buildup and longer drying times. Practice smooth, overlapping brush strokes for even coverage.
If unevenness appears after drying, lightly buff surfaces smooth and reapply thin coats for correction. Multiple thin layers produce better results than attempting to fix problems with single thick applications.
Dealing with Quick Chipping
Premature chipping indicates inadequate base preparation, poor polish quality, or insufficient drying time between coats. Ensure nails are completely clean and dry before application, use quality base coats, and allow proper curing between steps.
Edge sealing applying polish slightly onto skin around nail perimeters helps prevent chips starting from nail edges. Remove excess from skin after application, but maintain slight overlap for better adhesion.
Read More About : Fall Aura Nails: Your Complete Guide to Autumn’s Dreamiest Nail Trend
Frequently Asked Questions
How long should I wait between polish coats for simple Christmas nails?
Wait 5-10 minutes between thin coats for proper curing and adhesion. Thick coats require longer drying times and often produce inferior results compared to multiple thin applications. Use this time to work on other nails or complete other manicure steps.
Can I create simple Christmas nail art without special tools?
Absolutely! Household items like toothpicks, bobby pins, and small brushes work excellently for basic Christmas nail designs. Cotton swabs, tape, and even plastic wrap create interesting textures and patterns. Creativity matters more than expensive tools for successful DIY Christmas nail art.
What’s the best way to make simple Christmas nails last longer?
Proper base preparation, quality polish, adequate drying time, and protective top coats form foundations for long-lasting holiday manicures. Daily cuticle oil application, wearing gloves during manual tasks, and avoiding nail-damaging habits extend wear time significantly.
How do I choose Christmas nail colors that complement my skin tone?
Warm undertones typically suit gold metallics, orange-reds, and warmer greens, while cool undertones flatter silver accents, blue-reds, and cooler green shades. When unsure, nude bases with metallic accents work universally and provide safe starting points for festive nail art experimentation.
Can simple Christmas nails work for short nails?
Short nails work beautifully for simple Christmas nail designs, often looking more sophisticated than elaborate art on longer lengths. Focus on solid colors with single accent elements, subtle gradients, or minimal embellishments that complement rather than overwhelm shorter nail proportions.
Conclusion
Simple Christmas nails prove that holiday elegance doesn’t require professional skills or elaborate designs. These easy techniques let you embrace festive spirit while maintaining sophisticated style suitable for any December occasion. From classic red and gold combinations to subtle snowflake accents, these approachable designs deliver maximum impact through thoughtful simplicity.
The key to successful Christmas nail art lies in choosing techniques that match your skill level and lifestyle needs. Whether you prefer bold color blocking or understated metallic touches, these foundational approaches provide endless variation possibilities while ensuring consistent, professional-looking results that last throughout the busy holiday season.

